Instant Pot Traditional Pot Roast
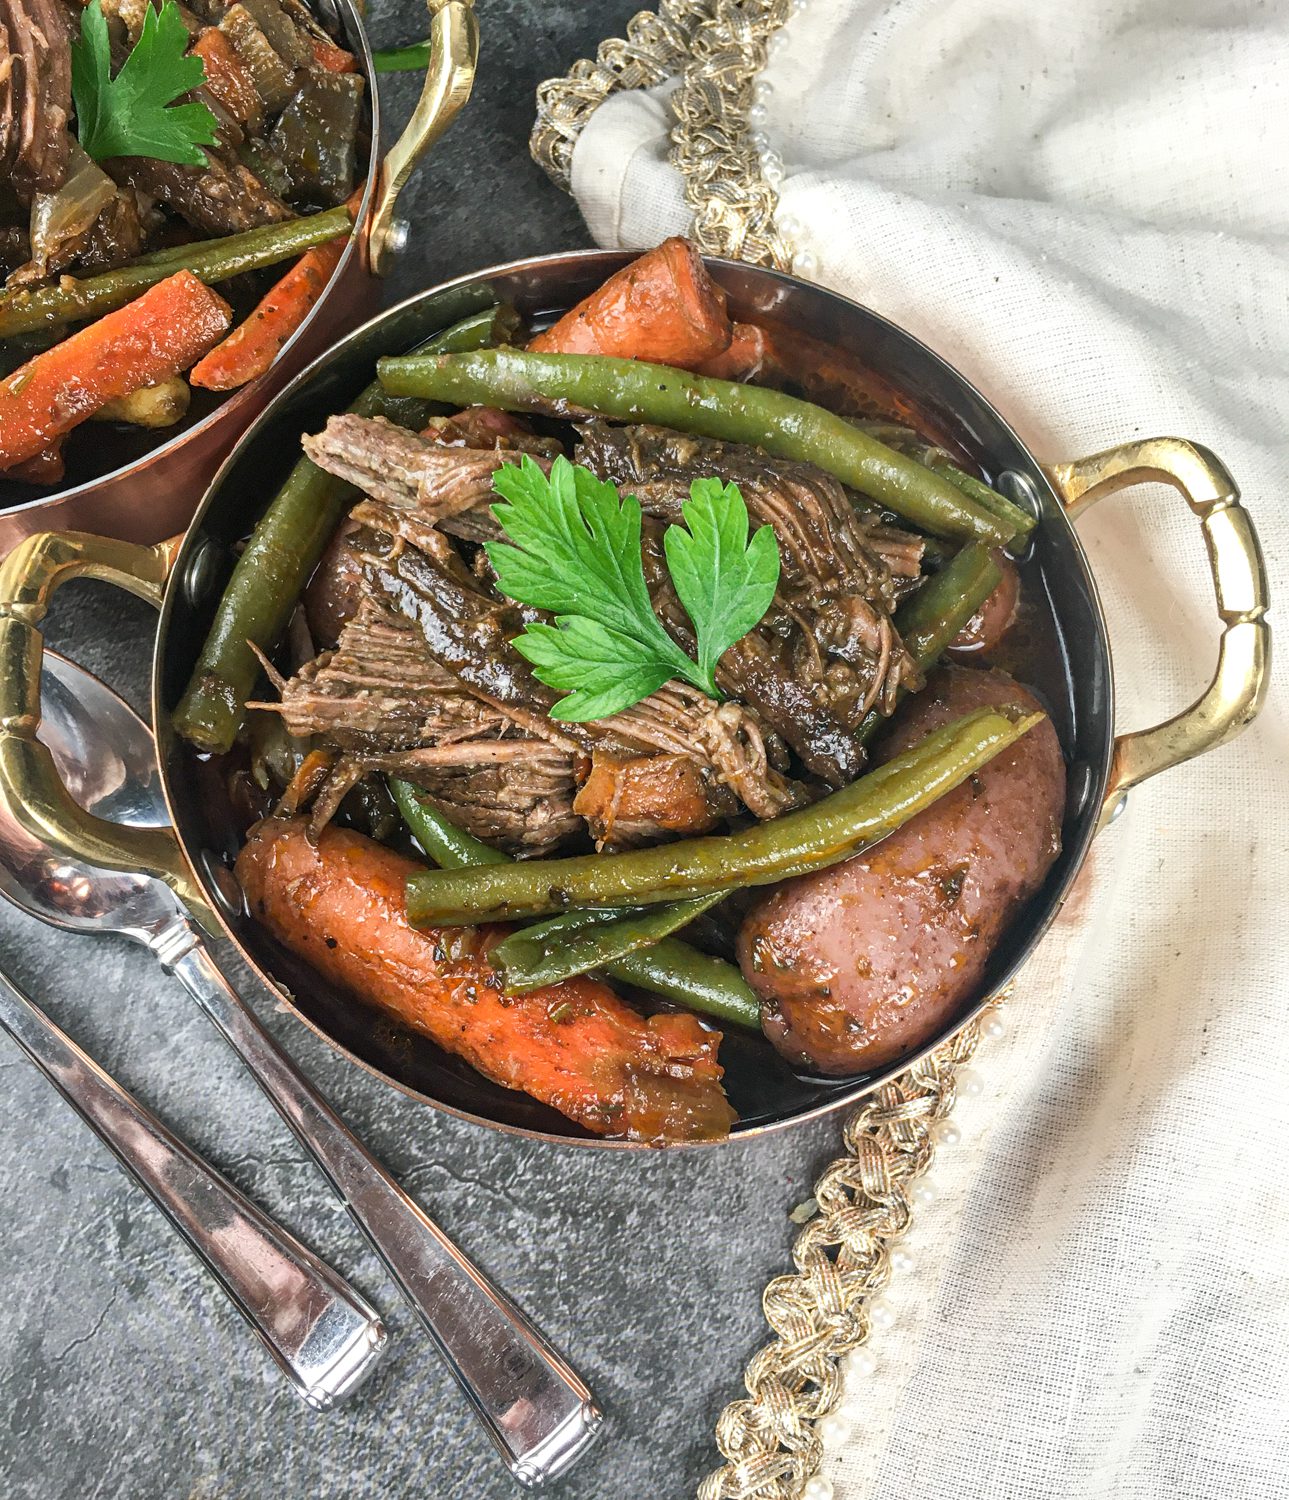
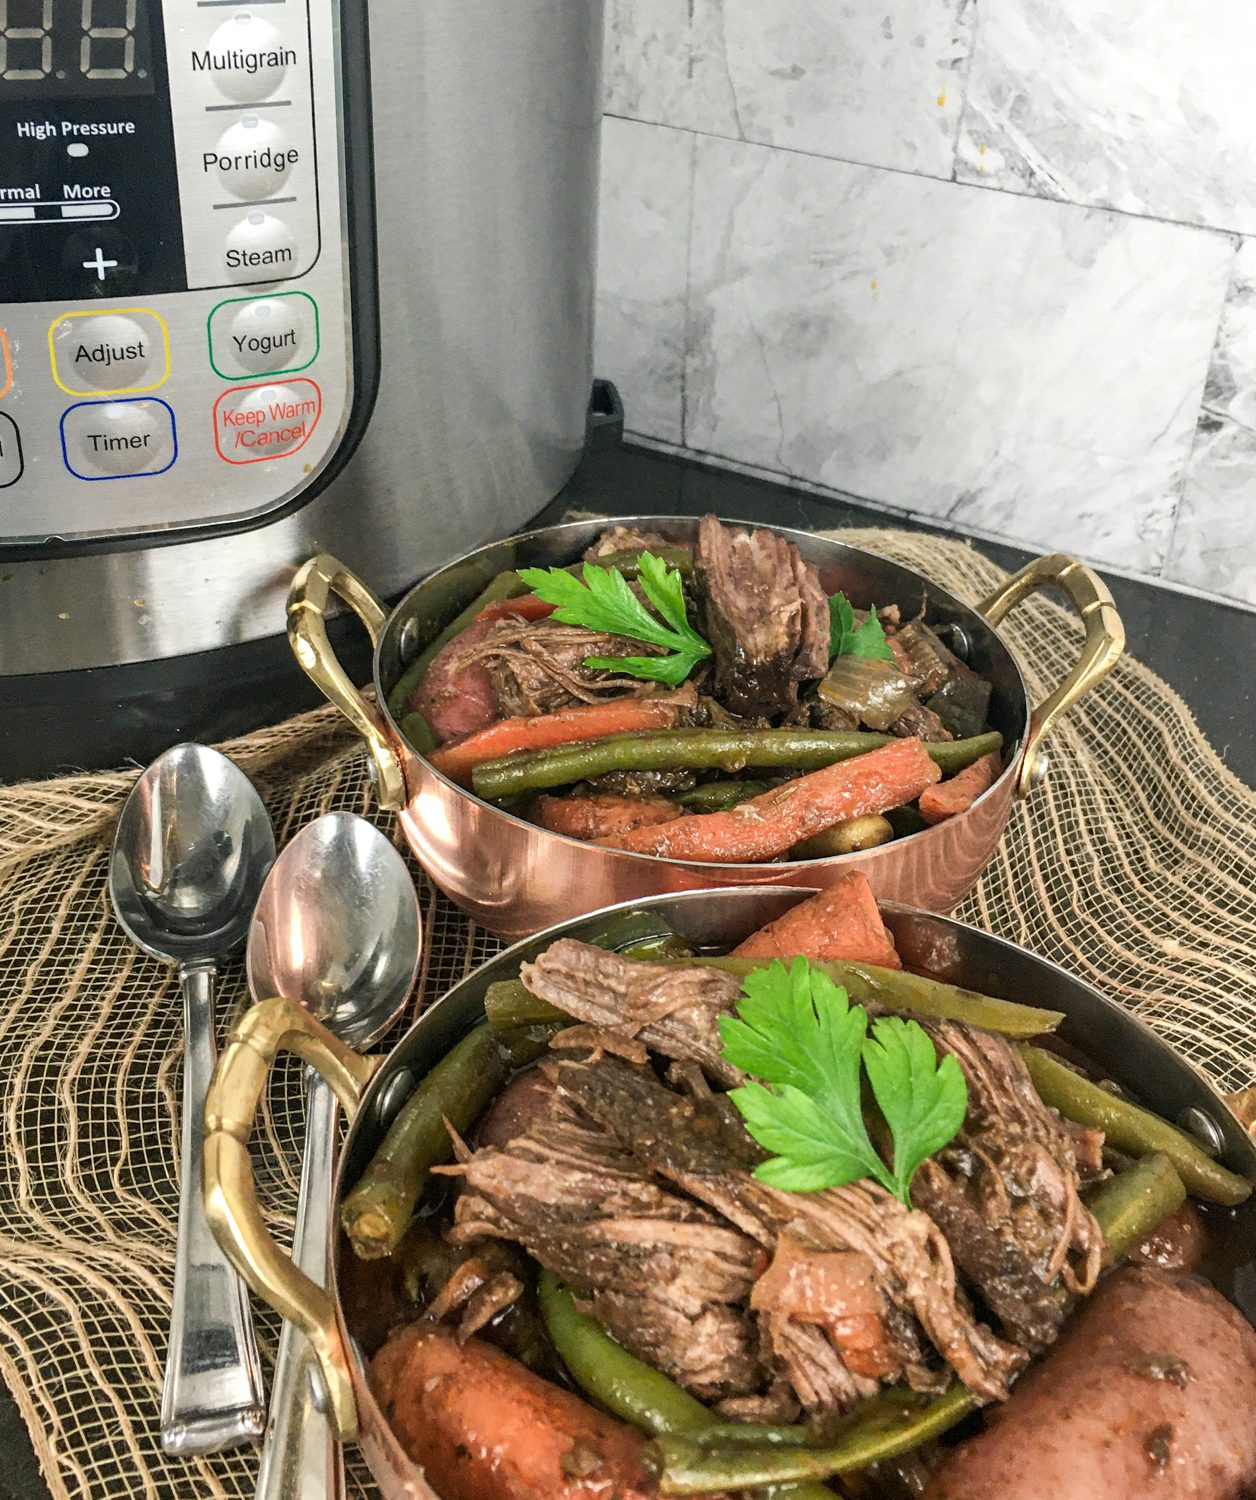
This Instant Pot Pot Roast tastes like it’s been braising in the oven all day. That’s because the pressure cooker creates the same low-and-slow magic in a fraction of the time. Tender, fall-apart chuck roast with carrots, fingerling potatoes, and green beans in a rich, deeply savory broth that has a secret ingredient you’d never guess: a tablespoon of cocoa powder.
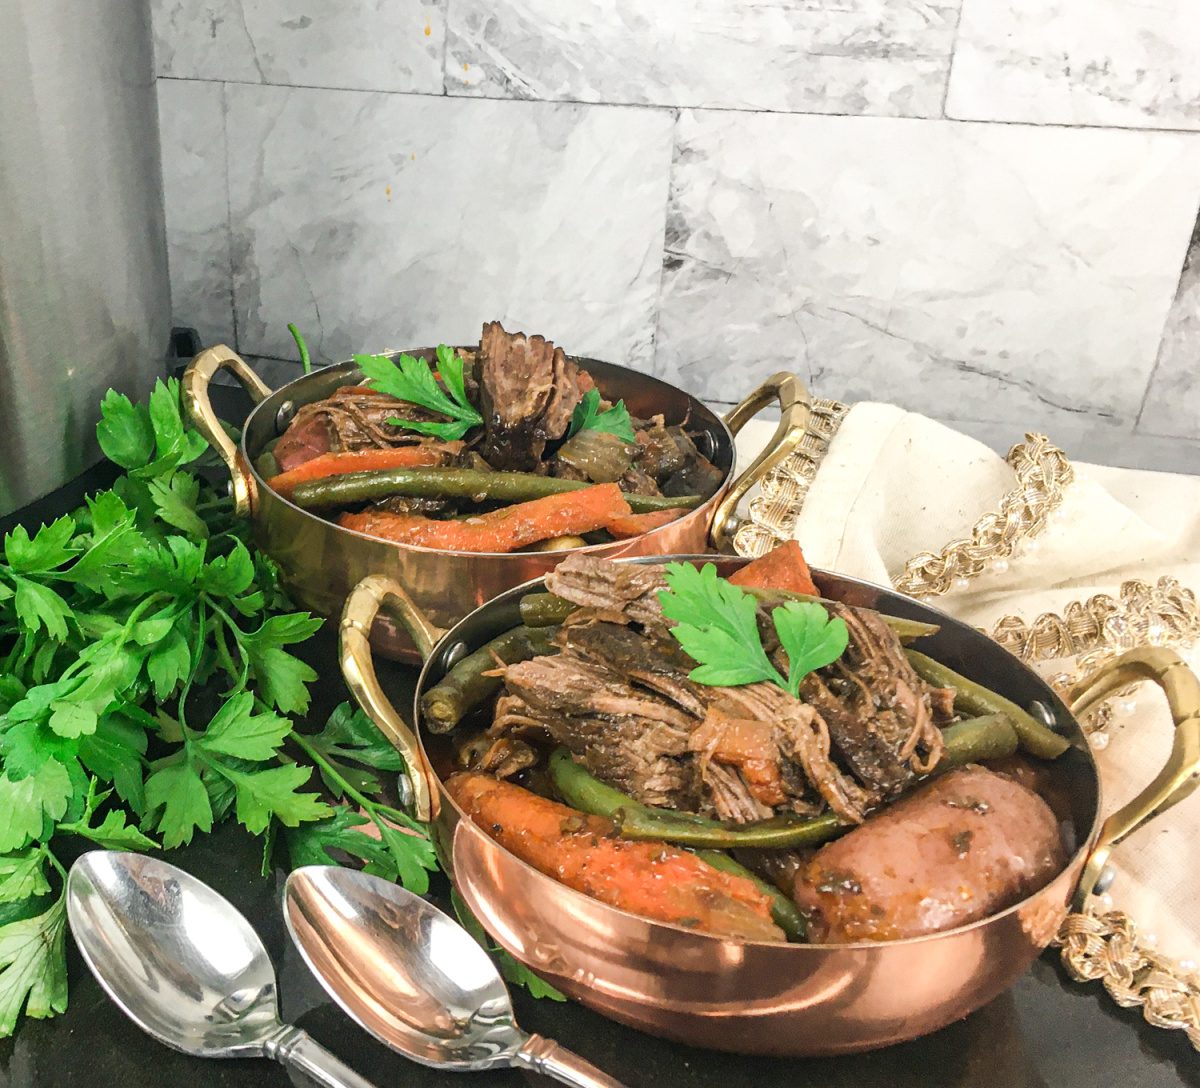
That cocoa powder isn’t an accident. It adds a subtle depth and richness to the broth that makes it taste like something you’d get at a really good Sunday supper restaurant. Combined with thick-cut bacon, tomato paste, Italian seasoning, and a proper sear on the roast, you get a pot roast that tastes genuinely complex without any of the all-day effort.
This post may contain affiliate links.
The two-stage cooking method is the key here. The roast cooks first under high pressure for 60 minutes, then the vegetables go in for just 3 more minutes so they’re perfectly tender without turning to mush. It’s a small extra step that makes a huge difference in the finished dish.
Why You’ll Love This Instant Pot Pot Roast
- Sunday dinner in under 2 hours — without babysitting the oven all day
- The cocoa powder secret — adds incredible depth to the broth; nobody will guess it’s in there
- Complete one-pot meal — roast, potatoes, carrots, and green beans all in one
- Fall-apart tender — the Instant Pot does what hours of oven braising would do
- The broth becomes the sauce — rich, savory, and perfect for spooning over everything
Shop This Recipe
To make this pot roast, you’ll need:
- 6-Quart Instant Pot — or any electric pressure cooker with a sauté function
- Instant Read Meat Thermometer — for checking doneness after pressure cooking
- Chuck Roast — 3–4 lbs., well-marbled; this is the right cut for pot roast
- Thick-Cut Bacon — adds richness and a subtle smokiness to the broth
- Unsweetened Cocoa Powder — the secret ingredient that makes the broth extraordinary

Instant Pot Traditional Pot Roast
Ingredients
Equipment
Method
- Add olive oil to the Instant Pot inner pot and select the Sauté function on the “More” (high) setting.
- Once hot, season the chuck roast generously with salt and black pepper on all sides. Add to the pot and sear for 3–4 minutes per side until deep golden brown on all sides. Remove from the Instant Pot and transfer to a platter. Set aside. Time-Saving Tip: Prep your onion, carrots, potatoes, and green beans while the roast cooks.
- With the sauté function still on, add the diced bacon to the pot. Cook, stirring occasionally, for 2–3 minutes until it begins to render.
- Deglaze the pot by adding the beef broth and scraping up all the browned bits from the bottom with a rubber spatula — this is crucial for both flavor and preventing a burn notice. Add the tomato paste, Italian seasoning, cocoa powder, and garlic powder. Stir to combine. Press Cancel to turn off the sauté function.
- Return the seared roast to the Instant Pot. Add the lid and lock into place. Set the vent to Sealing. Select Manual/Pressure Cook on High and set the timer to 60 minutes.
- When cook time is complete, allow pressure to release naturally for 10 minutes, then carefully quick release any remaining pressure.
- Place the diced onion, carrots, fingerling potatoes, and green beans on top of the roast. Replace the lid and lock into place. Set the vent to Sealing and select Manual/Pressure Cook on High for 3 minutes.
- When cook time is complete, allow pressure to release naturally for 5 minutes, then quick release any remaining pressure.
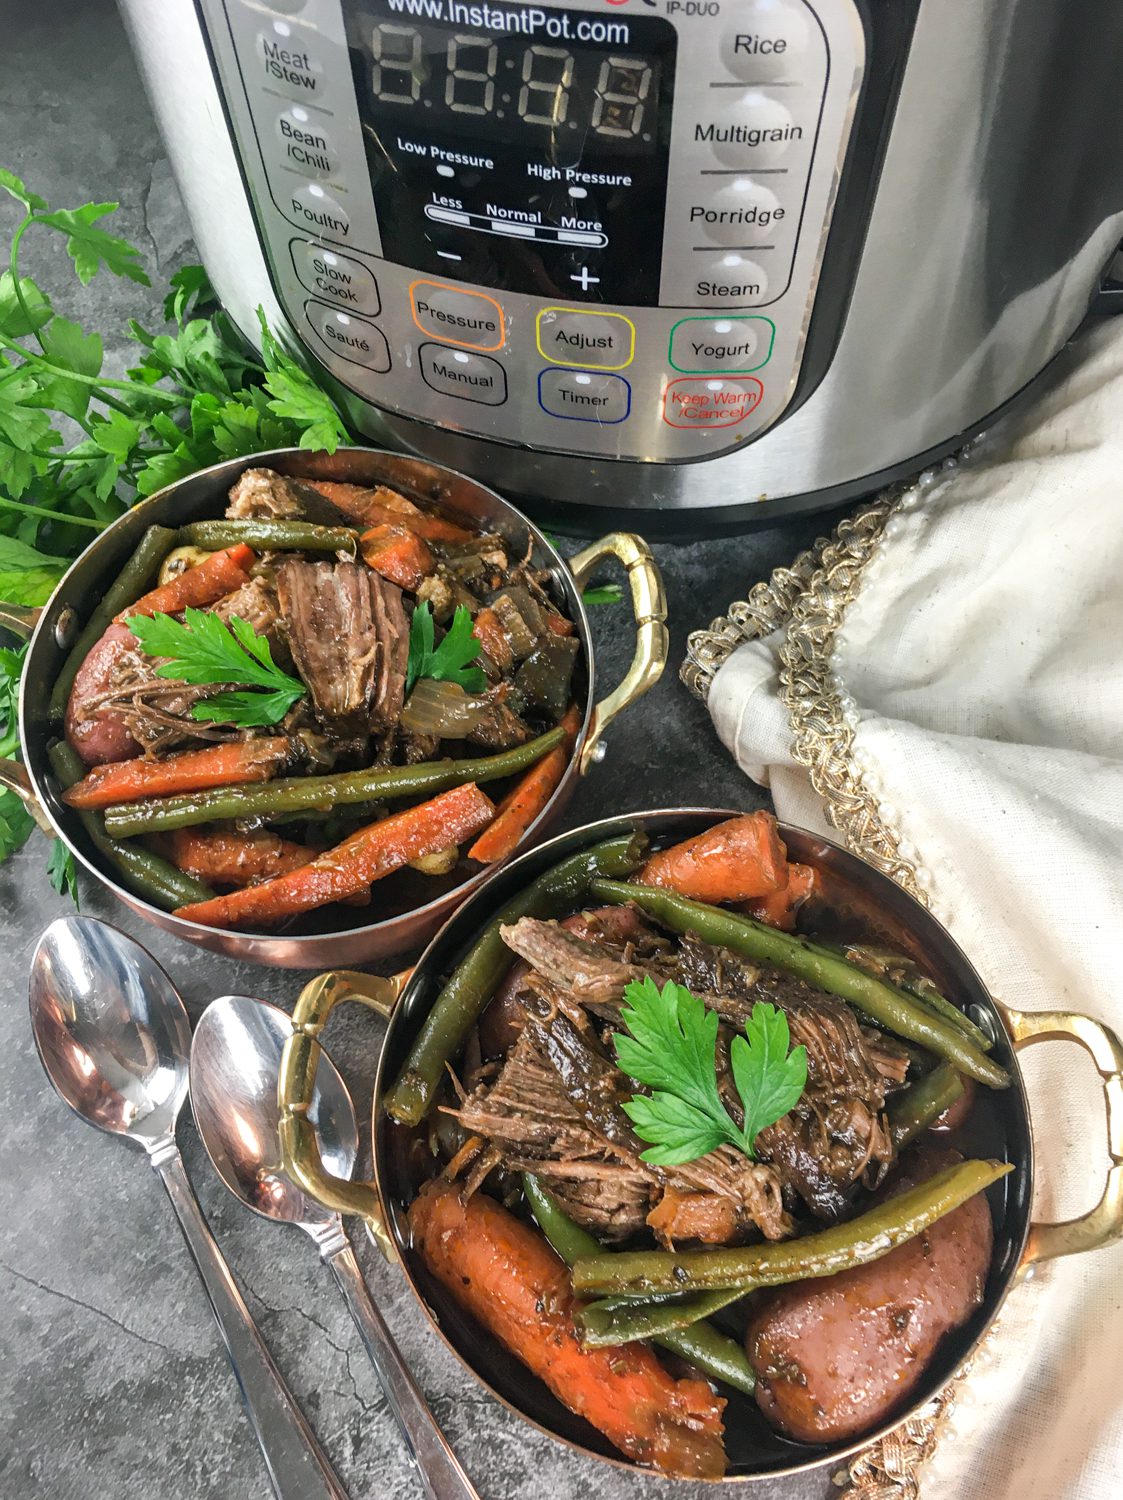
- Carefully remove the lid. Transfer the roast and vegetables to a large serving platter. Spoon broth generously over everything, garnish with fresh parsley, and serve immediately. Enjoy!
Tips & Variations
The Roast
- Chuck roast is non-negotiable — it has the right fat-to-meat ratio for braising; leaner cuts like sirloin or round will dry out under pressure
- Trim but don’t over-trim — some fat on the roast adds flavor and keeps it moist; remove large hard fat deposits but leave the marbling
- Sear properly — resist the urge to move the roast while it’s searing; let it release naturally when it’s ready to flip. A proper sear = more flavor
The Secret Ingredient
- The cocoa powder — don’t skip it and don’t be afraid of it; you won’t taste chocolate, you’ll just taste an incredibly rich and complex broth. It’s the same principle as adding a small amount to chili
- Unsweetened only — do not use sweetened cocoa or hot chocolate mix
The Vegetables
- The two-stage cooking is essential — vegetables added at the beginning of a 60-minute cook would be complete mush by the end; adding them for just 3 minutes at the end keeps them perfectly tender
- Cut vegetables uniformly — similar sizes ensure even cooking in those 3 minutes
- Fingerling potatoes work great here because they’re small enough to cook through quickly; if using larger potatoes cut them smaller
Variations
- Add mushrooms: Stir in sliced cremini mushrooms with the vegetables in the second cook
- Red wine braise: Replace 1 cup of beef broth with a dry red wine for extra depth
- Thicker gravy: Remove the roast and vegetables after cooking, select sauté, and simmer the broth for 5–10 minutes until reduced; whisk in a cornstarch slurry for a thicker gravy
Serving Suggestions
- Serve directly from the platter family-style with plenty of broth spooned over everything
- Crusty bread or dinner rolls for soaking up the broth — essential
- A simple green salad on the side keeps the plate balanced
- Horseradish cream on the side for an elevated touch — stir prepared horseradish into sour cream with a pinch of salt
Storage & Reheating
- Refrigerator: Store roast, vegetables, and broth together in an airtight container for up to 4 days — the flavor improves significantly overnight
- Freezer: Freeze in airtight containers for up to 3 months; freeze broth separately for best results
- Reheat: Warm gently in a covered pot over medium-low heat with a splash of extra broth; the roast reheats beautifully as it absorbs the liquid
Frequently Asked Questions
Q: I got a burn notice — what happened? A: Most likely the bottom of the pot wasn’t properly deglazed before pressure cooking. Make sure to scrape up ALL the browned bits in step 4 before closing the lid. Also ensure you have enough liquid — 4 cups of broth should be more than sufficient.
Q: Can I skip searing the roast? A: You can, but the flavor will be noticeably different — and not in a good way. The sear creates caramelized flavor that permeates the entire broth. It’s 10 extra minutes that’s absolutely worth it.
Q: My roast isn’t fall-apart tender — what happened? A: It needs more time. Unlike most meats where overcooking = tough, chuck roast gets MORE tender the longer it braises. Add another 15–20 minutes under high pressure and check again.
Q: Can I use a different cut of beef? A: Chuck roast is strongly recommended. Brisket works well too. Avoid lean cuts as they don’t have enough fat to stay moist under pressure.
Q: Why only 3 minutes for the vegetables? A: Pressure cooking is intense and vegetables cook much faster than you’d expect. Three minutes on high pressure is enough to perfectly cook potatoes, carrots, and green beans without turning them to mush.
Q: Can I make this in a slow cooker instead? A: Yes. Sear the roast in a skillet, build the sauce the same way, then cook on low for 8 hours. Add vegetables for the last 1–2 hours.
Why This Recipe Works
- Searing first: Builds a flavorful crust and fond that becomes the backbone of the broth — can’t be replicated any other way
- Deglazing thoroughly: Every browned bit scraped from the bottom adds flavor AND prevents the burn notice that plagues Instant Pot users
- Cocoa powder: The natural compounds in cocoa add umami depth and richness without any chocolate flavor — same reason it works so well in chili
- Two-stage pressure cooking: Gives the roast the full time it needs to become tender while protecting the vegetables from overcooking — the best of both worlds
- Natural release: Allowing pressure to release naturally keeps the meat fibers relaxed and juicy; a quick release can tighten the proteins and toughen the meat
More Instant Pot Recipes
- Instant Pot Garlic Mashed Red Potatoes — Silky, buttery garlic mashed potatoes made in the Instant Pot in under 30 minutes. They’re the perfect side dish for pot roast night.
- Instant Pot Sesame Garlic Wings — Crispy, saucy wings with bold sesame and garlic flavor. Your Instant Pot does all the heavy lifting.
- Instant Pot Balsamic Pork Tenderloin — Tender, juicy pork tenderloin in a rich balsamic glaze. Another impressive Instant Pot dinner that comes together fast.
- Instant Pot Asian Sticky Ribs — Fall-off-the-bone ribs with a sweet and savory Asian glaze. The Instant Pot makes these weeknight friendly.
This Instant Pot Traditional Pot Roast is the recipe that makes people stop saying “I don’t really use my Instant Pot that much.” One bite of that cocoa-spiked broth over fall-apart tender chuck roast and suddenly that pressure cooker becomes the most important appliance in your kitchen.